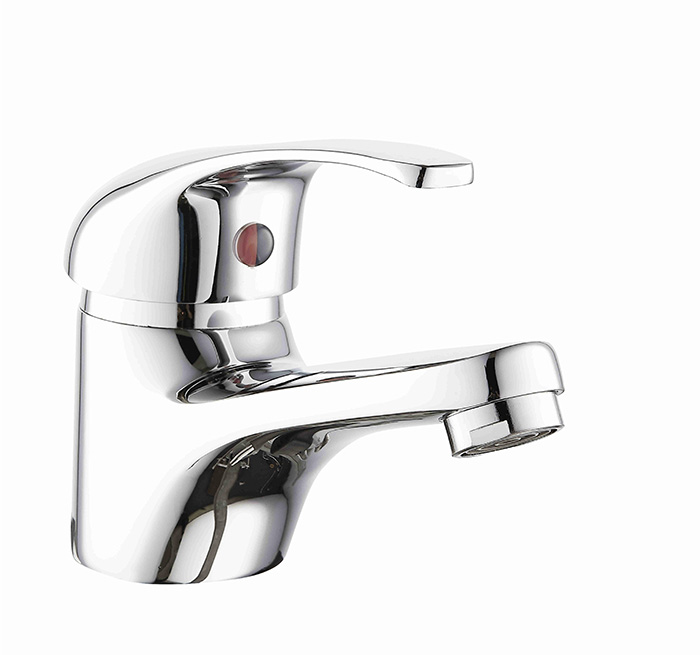
Step 1: take out the tap
Check whether all accessories are complete. Before installation, be sure to remove the dirt around the installation hole and in the water supply pipeline to ensure that there are no impurities in the water inlet pipeline. In order to protect the surface of the faucet from scratching, it is recommended to wear gloves for installation.
Step 2: take out the rubber washer
The washer is used to relieve the contact pressure between the metal surface of the faucet and the ceramic basin, protect the ceramic basin, and then insert a water inlet pipe and tighten it.
Step 3: thread the threaded joint into the first water inlet hose, and then thread the water inlet end of the second water inlet hose through the threaded joint.
Step 4: screw the second water inlet hose into the water inlet port, pay attention to the correct direction and balance the force, and then tighten the threaded joint.
Step 5: thread the two water inlet hoses into the white rubber pad.
Step 6: set the lock nut to fix the faucet.
Step 7: then tighten the sleeve
Step 8: lock the interfaces between the two water inlet pipes and the angle valve respectively. Do not use a pipe wrench to fully twist the plate to prevent deformation or even breakage. Pay attention to the connection of hot and cold water. Connect the other end of the water inlet pipe to the water outlet angle valve.

CONTACT US
Tel.:0086-13958690125
Add:Room 1904, Landmark Plaza Center, YiXiu District, AnQing City, AnHui, China